
When we woke up in the morning after we had our first fire in our fireplace, we realized there was a little soot on the ceiling above the fireplace. Which also kind of explains the big smoke stain on the brick (you can see in this before photo of the living room). Alex did a little more research and found out that the hearth opening to our fireplace was too large in comparision to the opening on our chimney. The dynamics of home airflow get a little confusing from here, but basically we needed to make the hearth opening smaller so that the smoke would have time to travel up the chimney (instead of into our living room).
So we took a trip to Woodland Stove and Fireplace to see if they had a Smoke Guard we could install. Here is a link to what a Smoke Guard looks like, it's basically a steel beam that goes across the top of the fireplace that makes the opening smaller. Woodland didn't have a Smoke Guard in stock, but said they could order one for around $100, but we wouldn't get it in time for Thanksgiving. The gentlemen working there were really nice, and even taught us more about airflow and how our nearly 90 year old chimney system works. They also planted the idea that we could likely make a Smoke Guard ourselves... DIY Project?!?! We love them!
Alex went to the ol' Home Depot and got what we needed to make the Smoke Guard. Here is Alex with the 2 pieces of steel construction joists. These joists will be sandwiched together to make the Guard.

Alex took measurments of the fireplace opening before cutting

After taking measurements, Alex retreated to his 'Gentlemen's Cellar' (did you hear? Man caves are out, Gentleman's Cellars are the new thing) in the basement to cut the steel. Just an FYI, our basement is unfinished, Alex uses the large room with our boiler as his sort of Gentlemen's Cellar/ workroom.

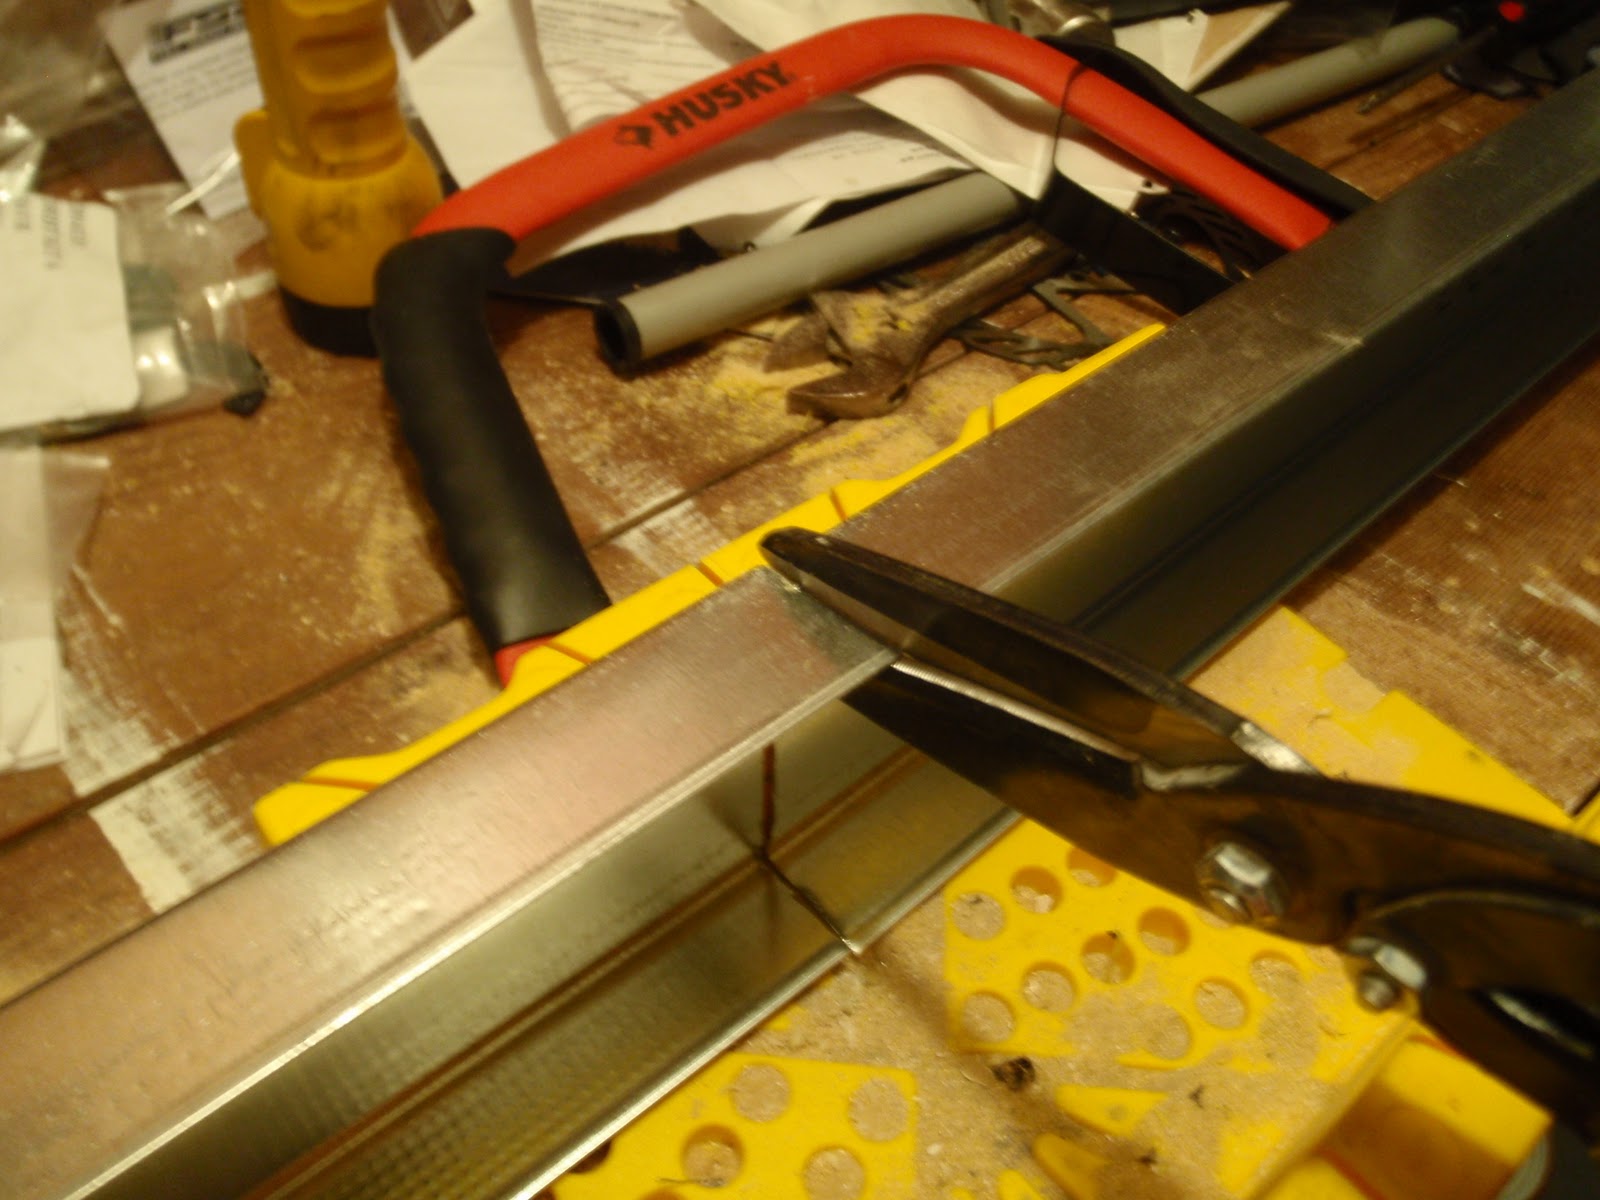
Alex took the 2 halves and pressed one inside the other to make the Smoke Guard more rigid.

Alex used Rutland High Heat Silicone and guide screws to secure the 2 halves together. Then used the black High Heat paint for a fancy finished look.

After he applied the silicone, he used a work clamp to tightly press the 2 halves together to allow for drying.

After drying, Alex applied the High Heat paint (because we didn't want a chrome Smoke Guard in our living room).

He used Loctite Adhesive and the High Temperature Silicone to seal and adhere the Smoke Guard against the brick.


Then it was time to install the Smoke Guard!


He used a rubber mallet to wedge the steel smoke guard into place.

He used the Silicone again to seal all the gaps around the front and back of the DIY Smoke Guard- this is a must so no air/smoke can flow through.

Here is what the fireplace looked like before. We featured the fireplace damper control in the last blog, but you can tell the difference in the 2nd photo with the Smoke Guard.
 See the difference with the steel panel? Not a huge visual impact.


But with another fire, big impact! So beautiful and no issues with smoke with the new Smoke Guard, love it!


That's awesome! Isn't it crazy what you have to learn about when you own a house?
ReplyDeleteNice job! DIY to the rescue! :)
ReplyDelete~Chelsea
1 - i'm so glad that you posted this! I'm dying to have fires in my fireplace ...but trying to make sure the fire is hot enough to draft smoke upwards makes it not relaxing at all!
ReplyDelete2 - i'm pumped your blog came up when i googled "smoke guard" because I LOVE your blog and i'm so glad to find it!
Hi ee, glad you liked the post, hope it helps, email us if you need more info!
ReplyDeleteWent out to buy one today $80 ...was searching internet for prices and found H&HH.
ReplyDeleteThis just made my day!
Does the heat of the fireplace cause any warpage in the smoke guard?
ReplyDeleteWe haven't had any warping issues, ours is a very old fireplace though, most of the heat goes up and out the chimney. Not sure how it would work in newer (and more efficent) space? But yes, ours has been fine!
Delete......also, can't tell from photos, what is finished height of guard (or depth of steel construction joists.) Are these just typical metal wall studs? If so, do you recall the gauge? Did you close the ends to fit against the side-walls of the fireplace opening? Thanks
ReplyDeleteTom K
I asked my hubby, he said he'd have to measure it but thought it was a basic wall stud – 25 gauge if I’m not mistaken. He cut it exact so that the ends would not need to be closed and then sealed it in with high temp oven/fireplace epoxy. Hope that helps!
DeleteI've been reading about smoke guards and am hoping this will solve our smoking problem. Also an avid DIYer, but curious - how was the final cost comparable to $80-100 for a manufactured one?
ReplyDeleteWow! I can't believe we didn't include the final cost in the post, I will have to add that, good call! So the steel wall channel/track 25mm costs about $10, the high heat spray paint is about $7, and the adhesive costs $5 so all together it would cost around $20 to make if you have all the tools already. Much cheaper than buying one! Ours still works wonderfully still! We are even having a fire tonight! Good luck :)
DeleteThanks for the info - think I'll give it a shot!
ReplyDeleteWhy did you use two halves vs one long one?
ReplyDeleteWe used 2 long pieces across the front & back, so they are sandwiched together, not 2 separate pieces on the front if that is what you were asking? The front is 1 solid piece, hope that answers your question?
Delete