
Square beadboard panels + square walls = easy project, right? Well, problem is, our house is 86 years old, and NOTHING is perfectly square anymore. So, what we thought would be the easiest part of the bathroom redo (ongoing, blogged here, here, and here) was certainly not (especially for Alex... lots of curse words!).
Alex picked up panels of beadboard from the ol' Home Depot, measured the walls, got out the saw and started cutting them to fit the walls. Here he is at the beginning, cutting away with the saw all hopeful and happy. Note: Alex has a rule about using his saw; the orange electric power cord must always be behind his foot, so it will never get caught in front of the saw (this is part of the story, keep reading).

Once he got the first sheet fit and ready to go, he grabbed the Loctite Power Grab and started applying it to the back of the beadboard.

Look at him go...

Tons of it for good measure! Once it was applied, he made this goofy face and pressed it against the wall...
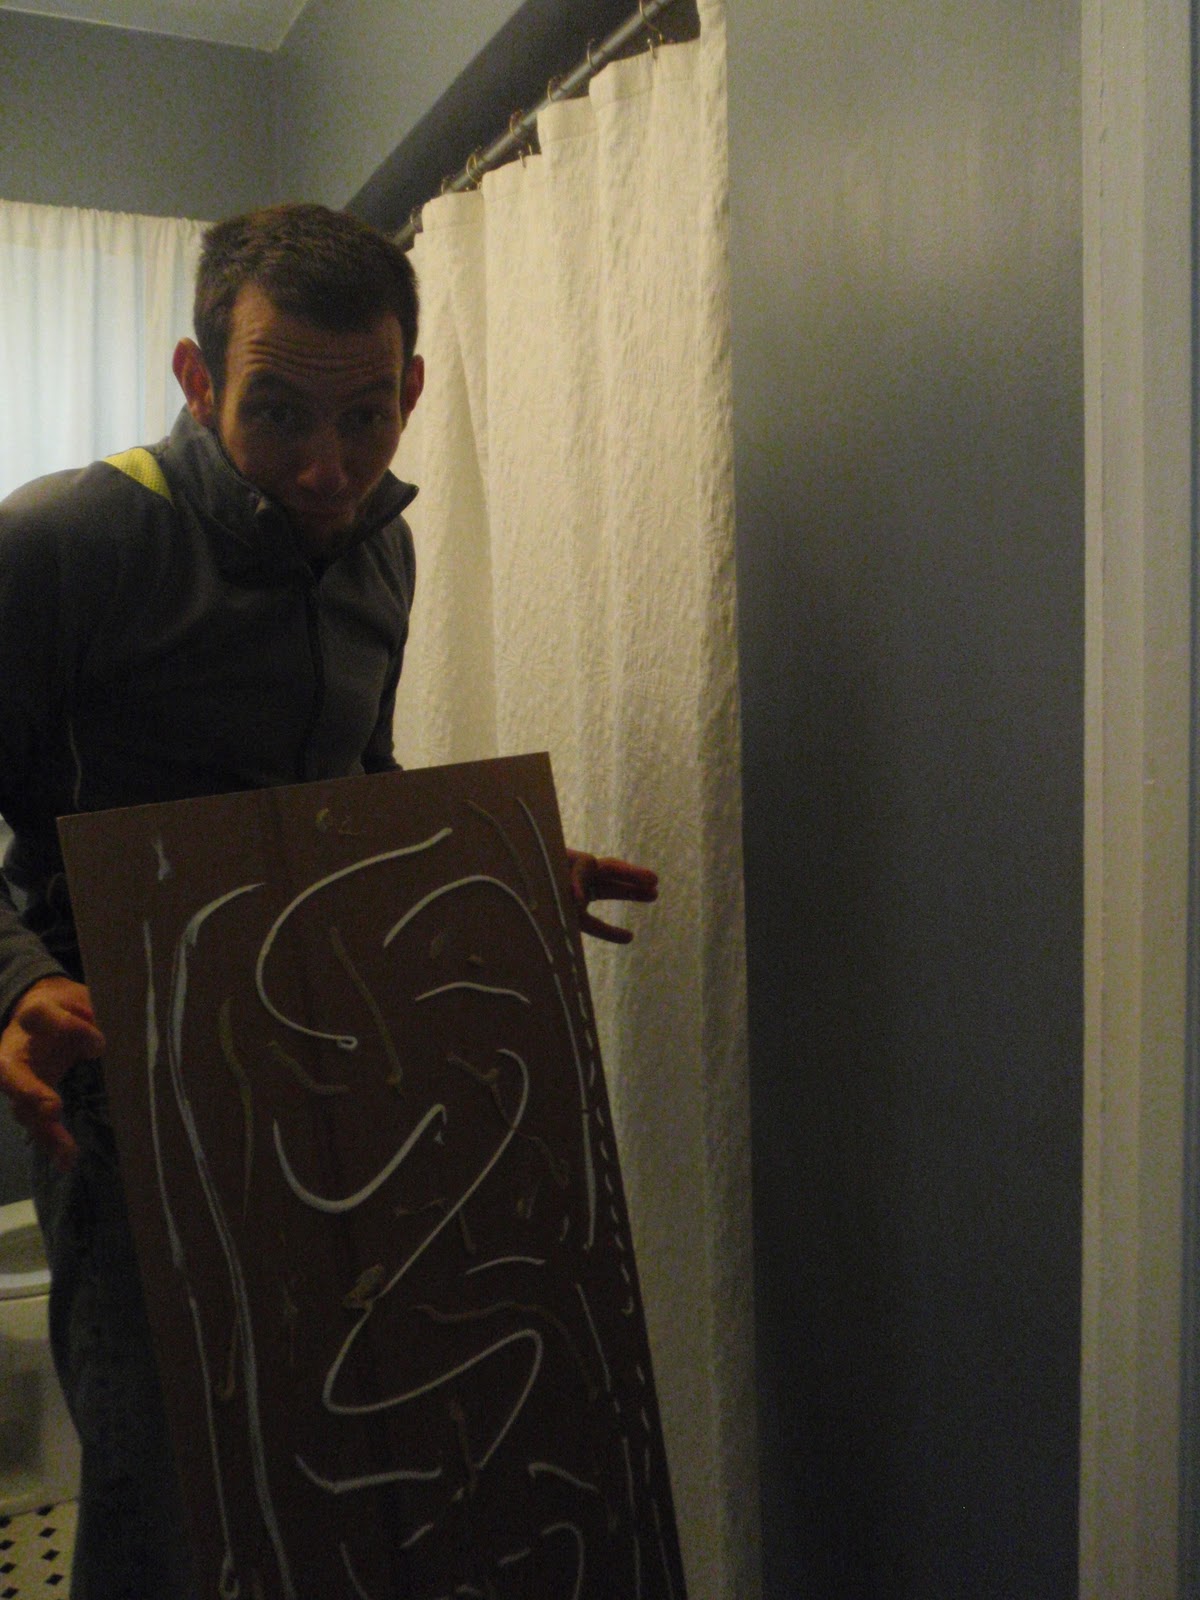
He made sure it was precisely in place...

Then used a few nails to hold it in place.

This was the piece that really killed the project, meaning, the level of difficulty significantly increased. We have one wall in the bathroom with a window that has beautiful original trim, which made for an awkward piece to cut out, not to mention nothing is even and straight in our 86 year old house. After much cursing and re-cutting, Alex finally got the piece that would fit against the wall and window.

So here he is installing it to the wall with the window around the trim, I was holding the camera, keeping my fingers crossed that there would be no problems (so thankful it worked!).

Then, to make matters worse, with Alex's frustrations at a peak, he went to saw the last piece of the beadboard for the day and cut through the orange extension cord (he said at that point he didn't follow his rule to keep the cord behind his foot). I was there when it happened and it was so scary! He turned the saw on and then in a split second all I saw was a big spark and the saw shut off......so thankful nothing bad happened! Well, the only bad thing was Alex was very upset that he killed the power cord, but who knows, maybe it was a sign to stop working on the beadboard for the day, so he did (hence why this blog took a little longer to write).
A couple days later, I asked if I should go get another extension cord so he could get started on the beadboard again and he said 'No, I can fix it'. Really?!?! I didn't know that it was that easy to fix...

I will write up a blog about how he fixed the cord later, thought that was pretty neat. Anyway, so he got to cutting up the rest of the beadboard to fit once the power cord was working again. This was the last hard piece he had to cut, the panel that would go behind the toilet. He had to cut a hole and slit up the beadboard to surround the water supply pipe to the toilet. Then added the glue to the back of the beadboard...

Now lifting it to place behind the toilet...

Here is a close up of the hole he had to cut so the water supply pipe could get to the toilet. Alex is going to use wood patch to fix the appearance of the hole, and add a chrome pipe fitting around the hole to finish the look.

Pressing in to finish before nailing in...

So that is it for the beadboard, really wasn't as quick and easy as we thought. We still have to add the trim around the edges of the floor, top of beadboard, and the corners but it is looking great! I might blog about that part along with painting the beadboard (it is white, but not a finished white surface, still needs paint). Then, our bathroom is finally done (only 3 weeks longer than Alex originally thought it would take)! I can't wait!
***Update- If you want to see how the bathroom turned out, check out the 'After' photos HERE***


Looks great y'all! We purchased some beadboard several months ago for our kitchen and easily got intimidated by it and put it in storage. Thanks for being honest and telling us it's not as easy as it looks.... I am excited about getting it up in our laundry room as we have different plans for the kitchen now!
ReplyDelete