Saturday, May 7, 2011

Mother's Day (Or Any Day) Anthropologie Inspired DIY Scarf Necklace!

Spoiler warning for my moms- don't peek if you want it to be a surprise!
I'm really excited to show you what I came up with this year for my mom Nancy and my mother in law Tina... a Handmade Scarf Necklace (DIY steps below)!
This one is my mom's, I just had to try it on!
I was a little stumped as to what to get my mom and Alex's mom for Mother's Day.  Sadly, we don't get to spend Mother's Day with them since we are in Minnesota and they are in Michigan, so I like to send them both something special as a nice little surprise.  

While I was searching for gift ideas I found this gorgeous Voluminous Scarf Necklace on Anthropologie's website for $38.00.  Isn't is so adorable?
Even better you can wear it a couple different ways.  I was in love with this scarf, and of course my DIY spirit got the best of me and I said, "well that would be so easy to make!"  So I got to work...
The Anthropologie scarf measured L38.0" x W22.5", so I wanted my measurements to be similar.  I picked up 1 yard of fabric for each scarf and cut it into 2 pieces measuring 18"W x 20" L.  Once the 2 pieces are sewn together this will create a 18"W x 40"L scarf. 

The scarf I worked on first was for Alex's mom Tina.  Alex picked out the fabric for her (with a little help from me of course!).
Here is a little illustration of what we are going to do:

To sew the 2 pieces together (to make one long scarf) I made a French seam.  You place the 2 pieces of fabric on top of one another with the right side of the fabric facing out.  Then stitch the pieces together.
Here is a look at that stitched seam.
Next, flip inside out so you are looking at the wrong side of the fabric and press the seam down.
Now with the wrong side of the fabric shown, stitch again with 0.25" seam allowance.
If that was a little confusing I found this illustration of a French Seam.  Got it now?  Super easy!
Cute As a Fox Creations
Here is a look once the 2 pieces are sewn together with a french seam. The print didn't match up perfectly, but I wasn't really trying to make it 'perfect'.  So now that it is sewn together we have a scarf that will measure 18"W x 40"L.

Now we need to hem each side so no raw edges show, this part takes a while.  Take you iron and double turn each edge.  I turned mine only 0.25"- as small as I could so the scarf wouldn't get smaller due to the hems.
Then hop on your sewing machine and stitch the hemmed edge as carefully as possible.
Once you are all done hemming the edges here is what your scarf will look like (minus the necklace portion).
Now lets add the necklace! For this you can make your own necklace with beading from a craft store, or buy a necklace from a store to use. I picked up these 2 necklaces on clearance at Macy's, regular price $30 each, but I go them for only $8 each! What a deal right? They are so cute too!
The one on the left is for Alex's mom and the right one is for my mom's scarf (in case you wondered).  I chose these necklaces (not just because they are cute), but they had large loops where I could fit the scarf through to knot on.
I took the first necklace and cut off the leather portion.
So that I would end up with just this...
Next, I grabbed one side of the scarf's ends to thread through the larger ring at the end
Then pulled it through to the middle of the scarf's width (this is the 18"W side, so I pulled the loop inward 9").
Now tie ends together to make a knot.
Do the same on the other side.  I ended up tying about 3 knots on each end so it looked more finished (than it does in this photo).
Tada!  Here is the final product of the scarf necklace!  It is kind of like an infinity scarf but with some bling!  I love the combination of the color, print, chain, and turquoise beading.  I think it turned out perfect for Alex's mom! 

Here is the fabric I chose for my mom (as shown in the first photo in the post).  I completed all the same steps as I did for the other scarf necklace.
Now here is how I added her necklace.  For this one i just left it clasped together and pulled it 8" inward on the width at each end.
Then just tied on with a knot.
Here is just the single knot (kind of messy).
So I knotted it over 2 more times for a more finished look (this is what I didn't get a picture of from the other scarf).
Here is another look at the final product!  I just love these scarves and they are so easy to make!
I hope my moms like their gifts!  They should be getting them in the mail today!  I'm sorry I didn't get this post up earlier, but they were kind of last minute. This project takes about 40 minutes per scarf, so it is doable to get it done in a day!

Did you come up with a great Handmade or DIY Mother's Day gift?  I'd love to hear about them so I can get more gift ideas!
Have a great weekend everyone!  Alex and I will be headed to a Kentucky Derby party at a friend's house today, can't wait to wear my BIG Derby hat!
Be sure to stop back tomorrow-it is a big day for our blog- can you guess what it is?

BWS tips button

Friday, May 6, 2011

Head Over Heels: The Farmer's Market Is Back!

Finally!  I am Head Over Heels for the return of the Farmer's Market... a sign of Spring and Summer in Minneapolis! 

When I am not at home (or working on my home) I spend Monday through Friday at work in downtown Minneapolis.  It is a great place to be because you have just about everything including shopping, restaurants, bars, gyms, theaters, sporting venues, and more all within a short walk.  We have 8 miles of Skyways linking 69 blocks- the largest in the world! So, in the frigid winter months you can still get around town before, during or after your work day and not freeze your buns off!  

But thankfully, now that it is warmer out I can escape the Skyway (and my cubical) during the day and check out the Farmer's Market every Thursday!
 The Market is set up along Nicollet Mall bright and early at 6:00 AM.  The products sold at the Market include fresh produce, meat, eggs, wild rice, honey, hummus, jellies/ jams, maple syrup, pickles, fresh baked breads and treats, potted arrangements, flats of bedding plants, cut flowers, and hanging baskets. In short, TONS of beautiful and delicious items are sold at the Farmer's Market.  There are also a few food carts beginning to show up, makes our 'Minne' city feel a bit more New York City....I love it! 

My friend Amy and I took a break from work to check out the Market yesterday.  I discovered something new at the Farmer's Market this year... CHEESE!  Anyone that knows me, also knows that cheese is my favorite food.  Anything cheese!  Anything with cheese!  Any kind of cheese!  I don't discriminate cheeses.  I was pumped that they even had some Brie Fromage on a baguette for sampling, YUM!
Here are a few more things I fancied while walking the Market on Nicollet Mall...

Fresh bright flowers!  Although I stayed away since I still can't seem to keep planted plants alive long.
Homemade pickles!  Even a pickle sampler bar!
Yum, fresh roasted and candied nuts!
 Homemade salsas, jerky, tortillas and tortilla chips (perfect, since I took this trip on Cinco de Mayo)
Fresh, gorgeous bouquets of flowers!
One of the best parts of the Farmer's Market returning? I get to enjoy fresh flowers in the house more often...

I picked up these matthiola flowers and placed them in a vase on our sideboard in the dining room.  They smell like sweet peppermint, I just love it!
Totally Head Over Heels for the Farmer's Market, really feels like Spring is here!

Do you frequent a Farmer's Market in your town?  What things do they have that Minneapolis is missing? 
I'll be back tomorrow with a really exciting DIY Mother's Day gift post (wish I had it done sooner, wa-wa), but nonetheless awesome!

Wednesday, May 4, 2011

Radiator Cover Update: Visuals, Fabric and Those Sisal Coffee Sacks!

I made all the pillows....ha, I wish, just kidding!  But isn't my little Photoshop magic visual fun?!?
After I made my 'Oops' floral pillows that just didn't look right, I took a trip back to back at my inspiration post.  I doing so, I realized that maybe I didn't need to go with a mix of different prints and patterns. All I wanted were a few basic yet stylish striped grain sack or linen like pillows and a couple with a little text or numbers.

So here is my new plan and all the goods I have ready to go to make it happen!

I found this cute set on Etsy and I knew I could make some like them because....
I also thought if I had some fabric paint I could make a pillow like this and write "Est. 2009" since that was the year we got our house and got married.  Love the sentimental stuff!
Swanky Cabbage
Also, I got my sisal coffee bags in the mail!  Yay!  Here is a look at the design and texture of the bags I received.
 They are pretty big measuring 20" x 30". To give you an idea here is a gratuitous Rocco photo illustrating how big the bags are compared to a small Shih Tzu.  My little 'Piggy' is so darn cute!
I'm thinking I could cut them down to make one oblong pillow or I could cut a small part of the stripe out and stitch it onto some softer fabric like on this pillow...
Yiayias
For overall color, I was thinking of doing a pale yellow stripe (as shown in the first photo), but now I am thinking gray might work better....
Or maybe a darker red?  Thought that might look nice with the coffee bag colors.  Or should I do a mix of both?
I have the sisal bags ($2.40 each), linen-like fabric (3 yards at $3.99/yd), foam brushes ($0.39 each), and fabric paint (3.79 for large bottle, $1.99 for small) ready to go!
I'll be measuring and cutting the fabric tonight and hopefully starting to paint them tomorrow.  If you have ideas or suggestions on color please let me know in the comments! 

Monday, May 2, 2011

Decorative Pillow With Envelope Closure Tutorial (and My Oops)

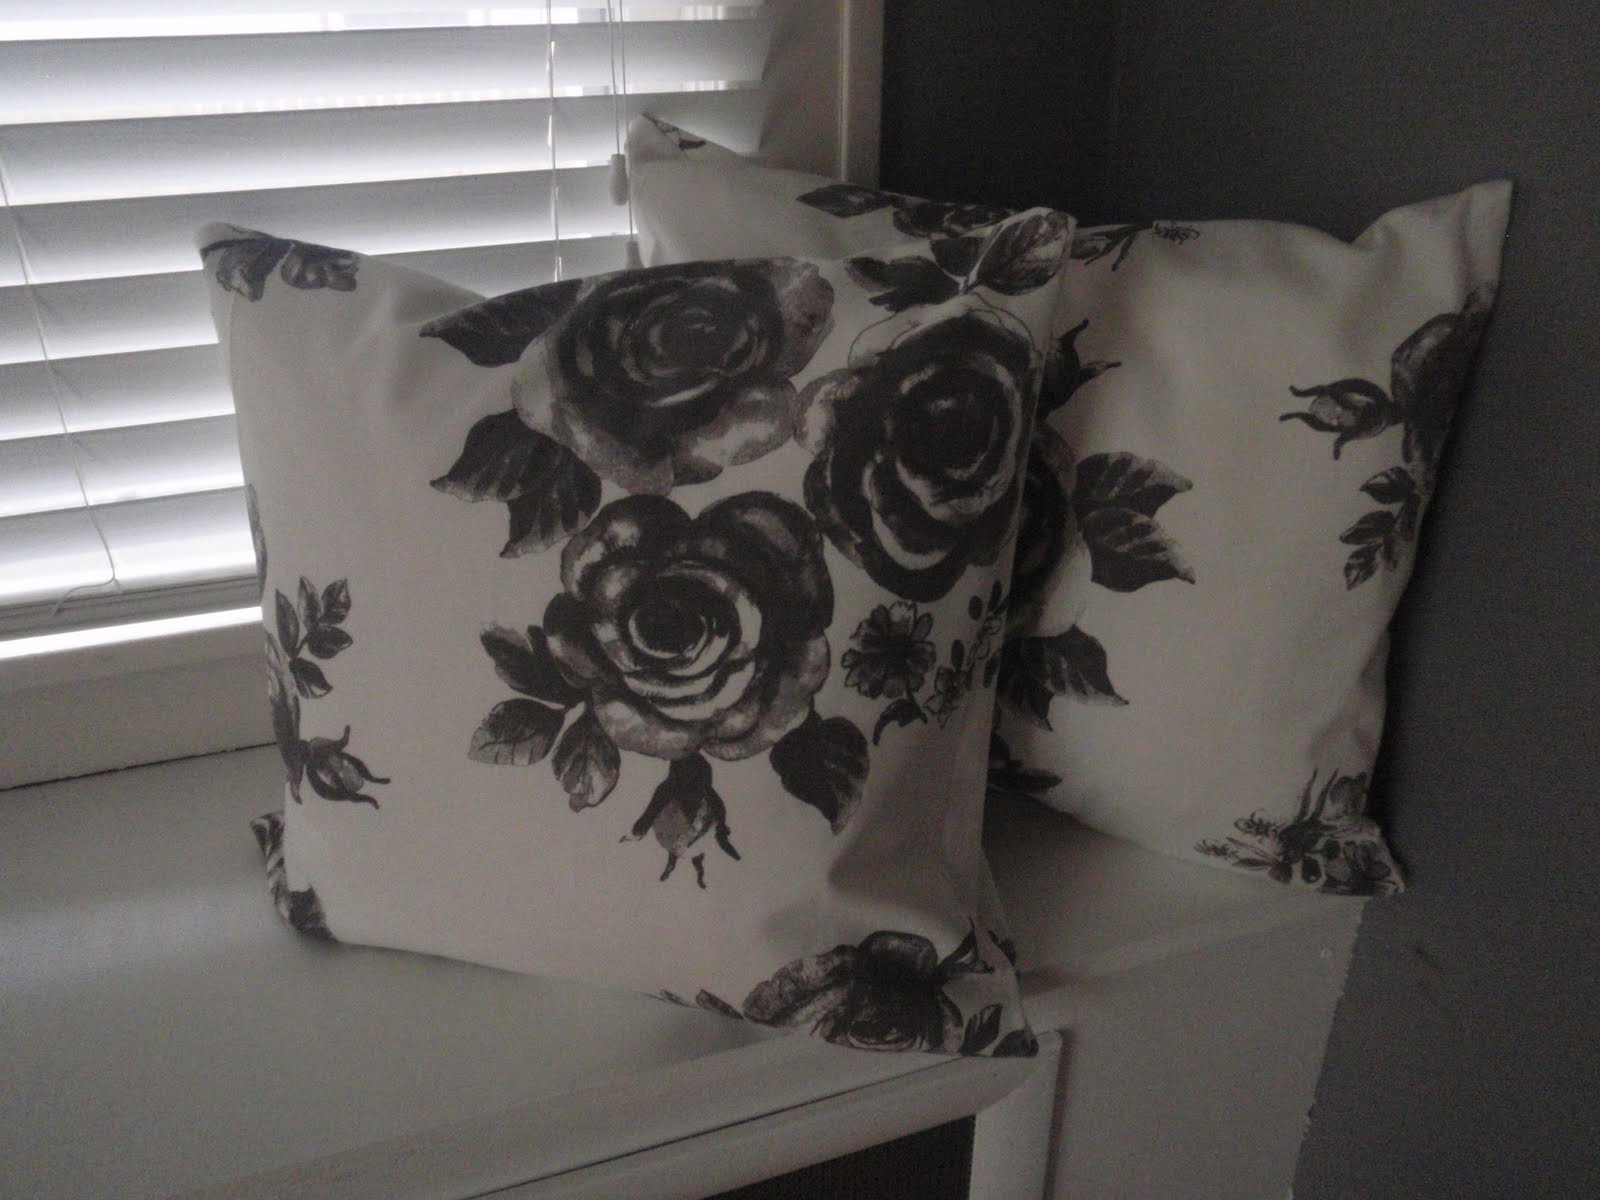
Over the weekend I started shopping for some fabric for the radiator cover pillows.  Sadly, I wasn't having the best of luck finding a lot of fabric I liked.  I went into Joanne's and nothing caught my eye.  I then decided to stop at Ikea since I needed some pillow inserts anyway.  I ended up finding some cute gray and white floral fabric (named Rosemarie).  I was pretty excited and thought it might be perfect for our little sunroom where the radiator is. So, I made a couple pillows and wrote up a tutorial!

What is the 'Oops' part?  I finished them up and put them in the sunroom and thought, 'hmmm, well this looks a bit off'.  Sure enough I reviewed my inspiration post again and realized that, yep, floral was never part of my plan.  Boo! what the heck was I thinking?!?

But failure is okay (I thankfully remembered that from Grace Bonney) and on the bright side I have an AWESOME detailed tutorial for you!  And who knows, I might find a spot for these pillows somewhere else in our house, they are still pretty darn cute!

Pillows with an envelope closure are just about the easiest kind you can make.  All you need is your fabric, sewing machine, thread, scissors, a warm iron, and a pillow insert to stuff inside!  The last time I tried to write a tutorial on this I got some feedback that I didn't show enough about the closure and it was a bit confusing. So I hope I can TOTALLY REDEEM myself with this one (Dumb and Dumber anyone?).

***Ready...OKAY***
Once you put a pillow inside you can see that the extra 5.0" of fabric inside the pillow covers the insert.  This creates a super simple DIY pillow cover!  See, none of the insert is visible, just folded inside and the fabric lays flat.
Here is a shot of the 2 duds I made. Okay, okay, they aren't duds, but for now since I won't be keeping them on the radiator they kind of feel like duds (wa-wa).
I'll be back Wednesday with an update on my pillow and decor dilemma.  Wish me luck and let me know what you think of the tutorial, I hope it is helpful!