Tuesday, October 12, 2010

DIY Chair Covers: Simple Step By Step to Make Your Own Chair Covers

Phew!!!  Feeling a bit pooped, but pumped that I got finished with chair #3 for my chair cover project!  I started this about 2 weeks ago (sad) but got busy with sanding and painting our table and helping Alex with the bathroom redo.  So once I got started on chair 3 I felt pretty confident with the steps and decided to snap pictures as I made the cover so I could share. 

Before I get started, I have to mention that I only had to cut 2 pieces of fabric.  I learned after the first chair, that I was cutting out too many pieces and it got too complicated.  All you need is 2 pieces of fabric!  I picked up some linen-looking fabric from Joanne's for $3.99 a yard (had a 40% off coupon too, so make that $2.39 a yard-woot!).  Here we go!

First, cut one piece of fabric to cover the face and back of the chair back (so the fabric folds over the top).  Then, sew the sides together stopping where the chair back meets the seat.  I tried to illustrate by pinning the sides, so this would be the inside of the cover.

 Second, once the sides are sewn pin the top to make a corner for the chair top (looks like a little triangle).  Make sure to sew a smaller corner than you think you will need, easier to sew more after to fit than it is to seam rip and start over.

After you sew each top corner and flip right side out it should look like this...

Here is where the tricky part starts.  So since we are only working with 2 pieces of fabric, you have to leave the chair back side piece whole, but cut the chair face side fabric to end at the seat.

Here is what that piece looks like off of the chair (in the photo you can see I left the back piece whole and cut the front shorter).

This is the second piece of fabric for the seat.  I cut out a little rectangle in the center of the fabric that is half the depth of the chair back.

This is what that rectangle is for, it will line up where the chair back and seat meet and wrap the side of the chair back to match up with the chair back piece (the first sewn piece of fabric).

Here is the chair back piece flipped inside out pinned to the chair seat fabric to be sewn.  Line up the edges of the fabric and pin together to make sewing easy.

Here is a view of the seat with the pins lined up for sewing.

View of the other side pinned for sewing.

The part where the sides turn up to the seat is very tricky to sew.  Keep pins in place and take the corner slowly.

After you sew and flip right side out this is how the corner should look.  It is definitely the hardest part to line up and sew.  It took me until the third chair to get the hang of it, but once you do the way the cover fits the chair is perfect!

Now the front corners, flip the cover inside out so all seams are showing.  Then pin where your corners are located and cut off excess fabric.

Once you sew the front corners you are ready to hem the bottom!  First make sure you cut the bottom so it is even and level with the bottom of the seat.  Then iron about a half inch up for the hem.  Here is the hemmed edge of the back of a cover...


You should now have a chair cover!  I have 3 done so far, it really gets easier as you go.  I have 3 left, then onto adding the prints to the chair backs!

Sunday, October 10, 2010

Bathroom Redo: Installing Beadboard = Learning to Appreciate a Crooked House

Square beadboard panels + square walls = easy project, right?  Well, problem is, our house is 86 years old, and NOTHING is perfectly square anymore.  So, what we thought would be the easiest part of the bathroom redo (ongoing, blogged here, here, and here) was certainly not (especially for Alex... lots of curse words!).  

Alex picked up panels of beadboard from the ol' Home Depot, measured the walls, got out the saw and started cutting them to fit the walls.  Here he is at the beginning, cutting away with the saw all hopeful and happy.  Note: Alex has a rule about using his saw; the orange electric power cord must always be behind his foot, so it will never get caught in front of the saw (this is part of the story, keep reading).


 Once he got the first sheet fit and ready to go, he grabbed the Loctite Power Grab and started applying it to the back of the beadboard.
 Look at him go...
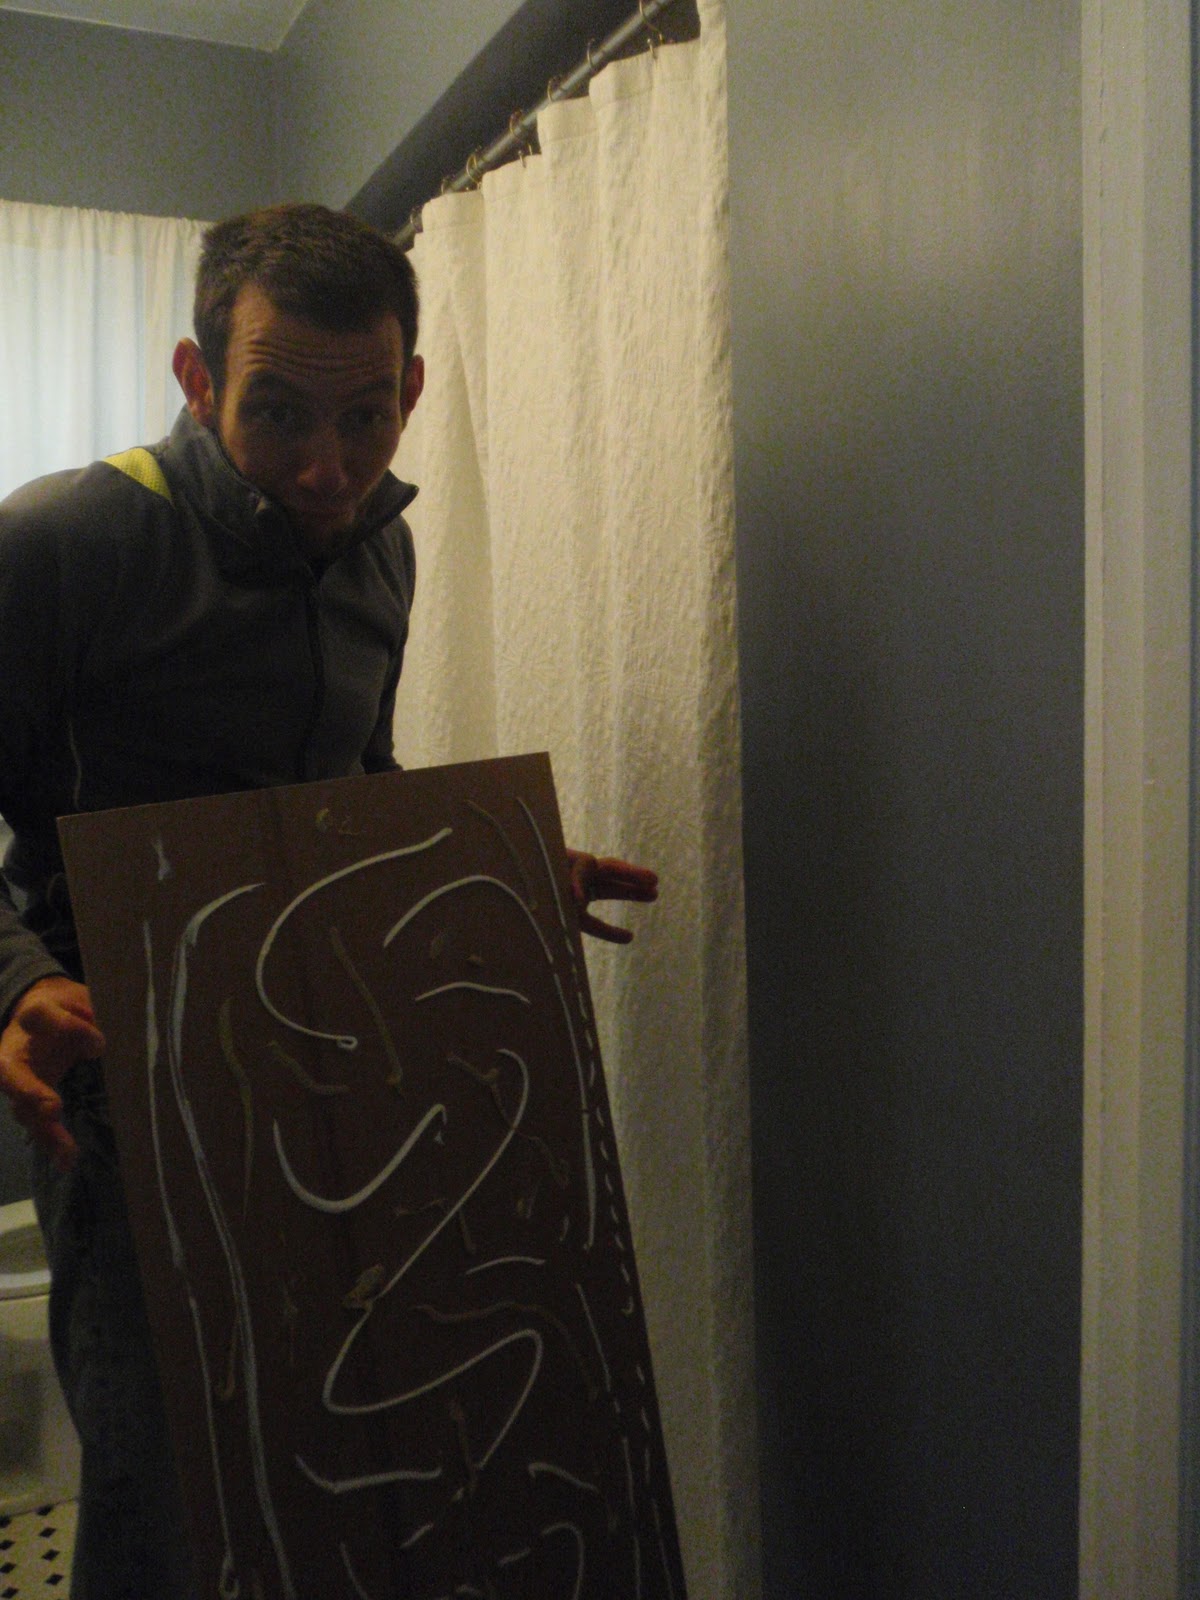
 Tons of it for good measure! Once it was applied, he made this goofy face and pressed it against the wall...
 He made sure it was precisely in place...
 Then used a few nails to hold it in place.
 This was the piece that really killed the project, meaning, the level of difficulty significantly increased.  We have one wall in the bathroom with a window that has beautiful original trim, which made for an awkward piece to cut out, not to mention nothing is even and straight in our 86 year old house.  After much cursing and re-cutting, Alex finally got the piece that would fit against the wall and window.
 So here he is installing it to the wall with the window around the trim, I was holding the camera, keeping my fingers crossed that there would be no problems (so thankful it worked!).

Then, to make matters worse, with Alex's frustrations at a peak, he went to saw the last piece of the beadboard for the day and cut through the orange extension cord (he said at that point he didn't follow his rule to keep the cord behind his foot).  I was there when it happened and it was so scary!  He turned the saw on and then in a split second all I saw was a big spark and the saw shut off......so thankful nothing bad happened!  Well, the only bad thing was Alex was very upset that he killed the power cord, but who knows, maybe it was a sign to stop working on the beadboard for the day, so he did (hence why this blog took a little longer to write).

A couple days later, I asked if I should go get another extension cord so he could get started on the beadboard again and he said 'No, I can fix it'. Really?!?!  I didn't know that it was that easy to fix...
I will write up a blog about how he fixed the cord later, thought that was pretty neat.  Anyway, so he got to cutting up the rest of the beadboard to fit once the power cord was working again.  This was the last hard piece he had to cut, the panel that would go behind the toilet.  He had to cut a hole and slit up the beadboard to surround the water supply pipe to the toilet.  Then added the glue to the back of the beadboard...
Now lifting it to place behind the toilet...
Here is a close up of the hole he had to cut so the water supply pipe could get to the toilet.  Alex is going to use wood patch to fix the appearance of the hole, and add a chrome pipe fitting around the hole to finish the look.
Pressing in to finish before nailing in...
So that is it for the beadboard, really wasn't as quick and easy as we thought.  We still have to add the trim around the edges of the floor, top of beadboard, and the corners but it is looking great!  I might blog about that part along with painting the beadboard (it is white, but not a finished white surface, still needs paint).  Then, our bathroom is finally done (only 3 weeks longer than Alex originally thought it would take)!  I can't wait!

***Update- If you want to see how the bathroom turned out, check out the 'After' photos HERE***

Saturday, October 9, 2010

Finally! Finished Sanding and Repainting the Table and Stools!

It sure wasn't as easy as it sounded!  But finally, I am done with the table and stools in the nook!  I got started last Sunday on this project, and it took longer than expected.  Didn't help that I was feeling a little under the weather this week, so I had to take some nights off of painting, but here it is! 

Then, after spending a day sanding and a few nights painting, here is the after!


So nook went from this...
 To this...
and finally to this...
Which looks much better with the other side of our kitchen...
I'm also thinking the antique ladder we found on our last junkin' adventure will stay in the nook as well.  I think it is cute in the space and looks nice to our DYI antique chalkboard.
Well, now back to finishing up my chair cover project!

Thursday, October 7, 2010

Our Latest Junkin' Antique Finds

Per the recommendation from our good friend Amber, we hit up an antique shop called Abigal Paige in Hudson, Wisconsin.  It was an awesome shop! We found some great items and the prices were so reasonable!

Here is an antique measuring stick we scored for $6, now on our mantel.
 
 I have been dying to find an old antique-y or chippy ladder and we found this little guy!  Still not sure on the final home it will have, but we are kind of liking it in our nook by our antique chalkboard.  Otherwise, it may end up in our new upstairs bathroom.
 Here is a look at the "chippy" texture on the ladder.
 Lastly, we found this cute "carnival cane" (that is what the tag said) for $7.  We thought it would be a cute piece of decor for the hooks in our 'sort of' mud room.  We had been looking for an antique umbrella to hang, but think this still looks cute.  I still want to find an umbrella though!
 Closer picture of the detail on the cane...
The last time Alex and I went antique shopping was our Junkin' experience with Layla and Kevin Palmer from The Lettered Cottage.  I think since that experience, we have more fun and take more pride in 'junkin'.  Alex and I had a blast sifting through the fun things we found and trying to think of where the items would fit best in our house.  I think it is the only kind of shopping we enjoy doing together (well grocery shopping is still fun).  But it is kind of a treasure hunt, it was so exciting!  Can't wait to do it again!

Tuesday, October 5, 2010

The First Coat is On!


Well, to my surprise, it takes a REALLY long time to put one coat of paint on 3 stools and a table.  Doesn't help that the stools and table have lots of awkard surfaces.  So I have one coat done, and perhaps 1 or 2 more to do (sad face).  Ahh, I guess I am learning to be more patient with my projects.  At least having it look more white than black I can now visualize what it will look like a bit more.  So, I guess I will stop blogging and get out the ol' paint brush and get back to work.  Wish me luck!

Sunday, October 3, 2010

Sanding and Painting Furniture: Updating the Look of our Nook!

Well Sunday was not a day of rest for me and I can't believe I started this, but I figured what the heck!  Alex was busy with the bathroom redo still (beadboard today, and it wasn't easy), and I wanted to save my chair covers for weeknights.  So, I decided to tackle something I have been thinking about for a while now... sanding and painting the table and stools in the nook!  This is extra fun for me because I am taking it on all by myself, so I hope I impress the hubby!

These are the black table and stools that just needed to go (I have more details about this table in our kitchen nook blog, it has already undergone a redo on it's own). 

The rest of our kitchen has white cabinets, so to give the whole kitchen (and nook) a more cohesive feel we wanted to paint the table and stools white.

Thankfully it was a nice fall day, so I got my protective (and cute) gloves on and got to work! I grabbed my trusty Ryobi Cat Sander and started sanding.  The surfaces all needed to be stripped of the black paint and rough sanded in order for the white paint to adhere to the surface.  I have seen similar projects in a few other blogs but I hadn't tried sanding furniture yet, so today was quite the adventure.  Sanding all 3 stools took close to an hour, with about 15-20 minutes spent on each stool.  It really wasn't my favorite project, and it was so loud!  I am glad my neighbors didn't want to kill me today!

The table was a lot harder, it's black finish was just impossible to get off, and the Cat Sander couldn't hang.  So I had to bust out the big guns for this job!  I grabbed Alex's Black and Decker Dragster Belt Sander.  I must say, using the Dragster was a lot more fun than the Cat Sander, I felt so powerful!  Except of course for the first moment I turned it on and laid it on the table... it was like one of those scenes from Home Improvement when Tim Allen would use a tool and it would zip forward out of control and pull him with it (28 second mark).  After that trial run, I got the hang of it (and I was glad Alex didn't see that, otherwise he would have taken it away from me). Ha!

The table took me about 30-40 minutes to sand (I think).  It went a lot faster using the fancy sander.  So here's the sanded table (I will still need to do some hand sanding where I couldn't get the belt sander to reach).

Here are the stools...
Aren't they just SCREAMING for white paint?!?!  I hope to get started painting them this week. I still need to make my chair covers as well, but now that the table is a mess and the space is unavailable, I think it takes top priority. Ooooo, two projects for me in one week, exciting!

Friday, October 1, 2010

Our Blog Got a New Look!

Wow-wee, it is October already!?!?
  
     We decided to move away from our old background, it was very cute, but a little too busy and colorful for our taste.  We wanted something a little more simplified and that coordinated with the feel of our house.  So here it is!  I used a plain linen background from the Background Fairy (we have lots of linen looks in our house and neutral colors) and my wonderfully talented friend and coworker Amber made a lovely header for us.  Amber is also a photographer, she took our amazing engagement pictures and blogs as well!

So what do you think? Like the new look?  I think I am definitely loving it! 

Also- I should be posting an update for our bathroom on Sunday (fingers crossed)!